How to Fix a Jammed Sewing Machine: A Step-by-Step Guide


Identify the Problem
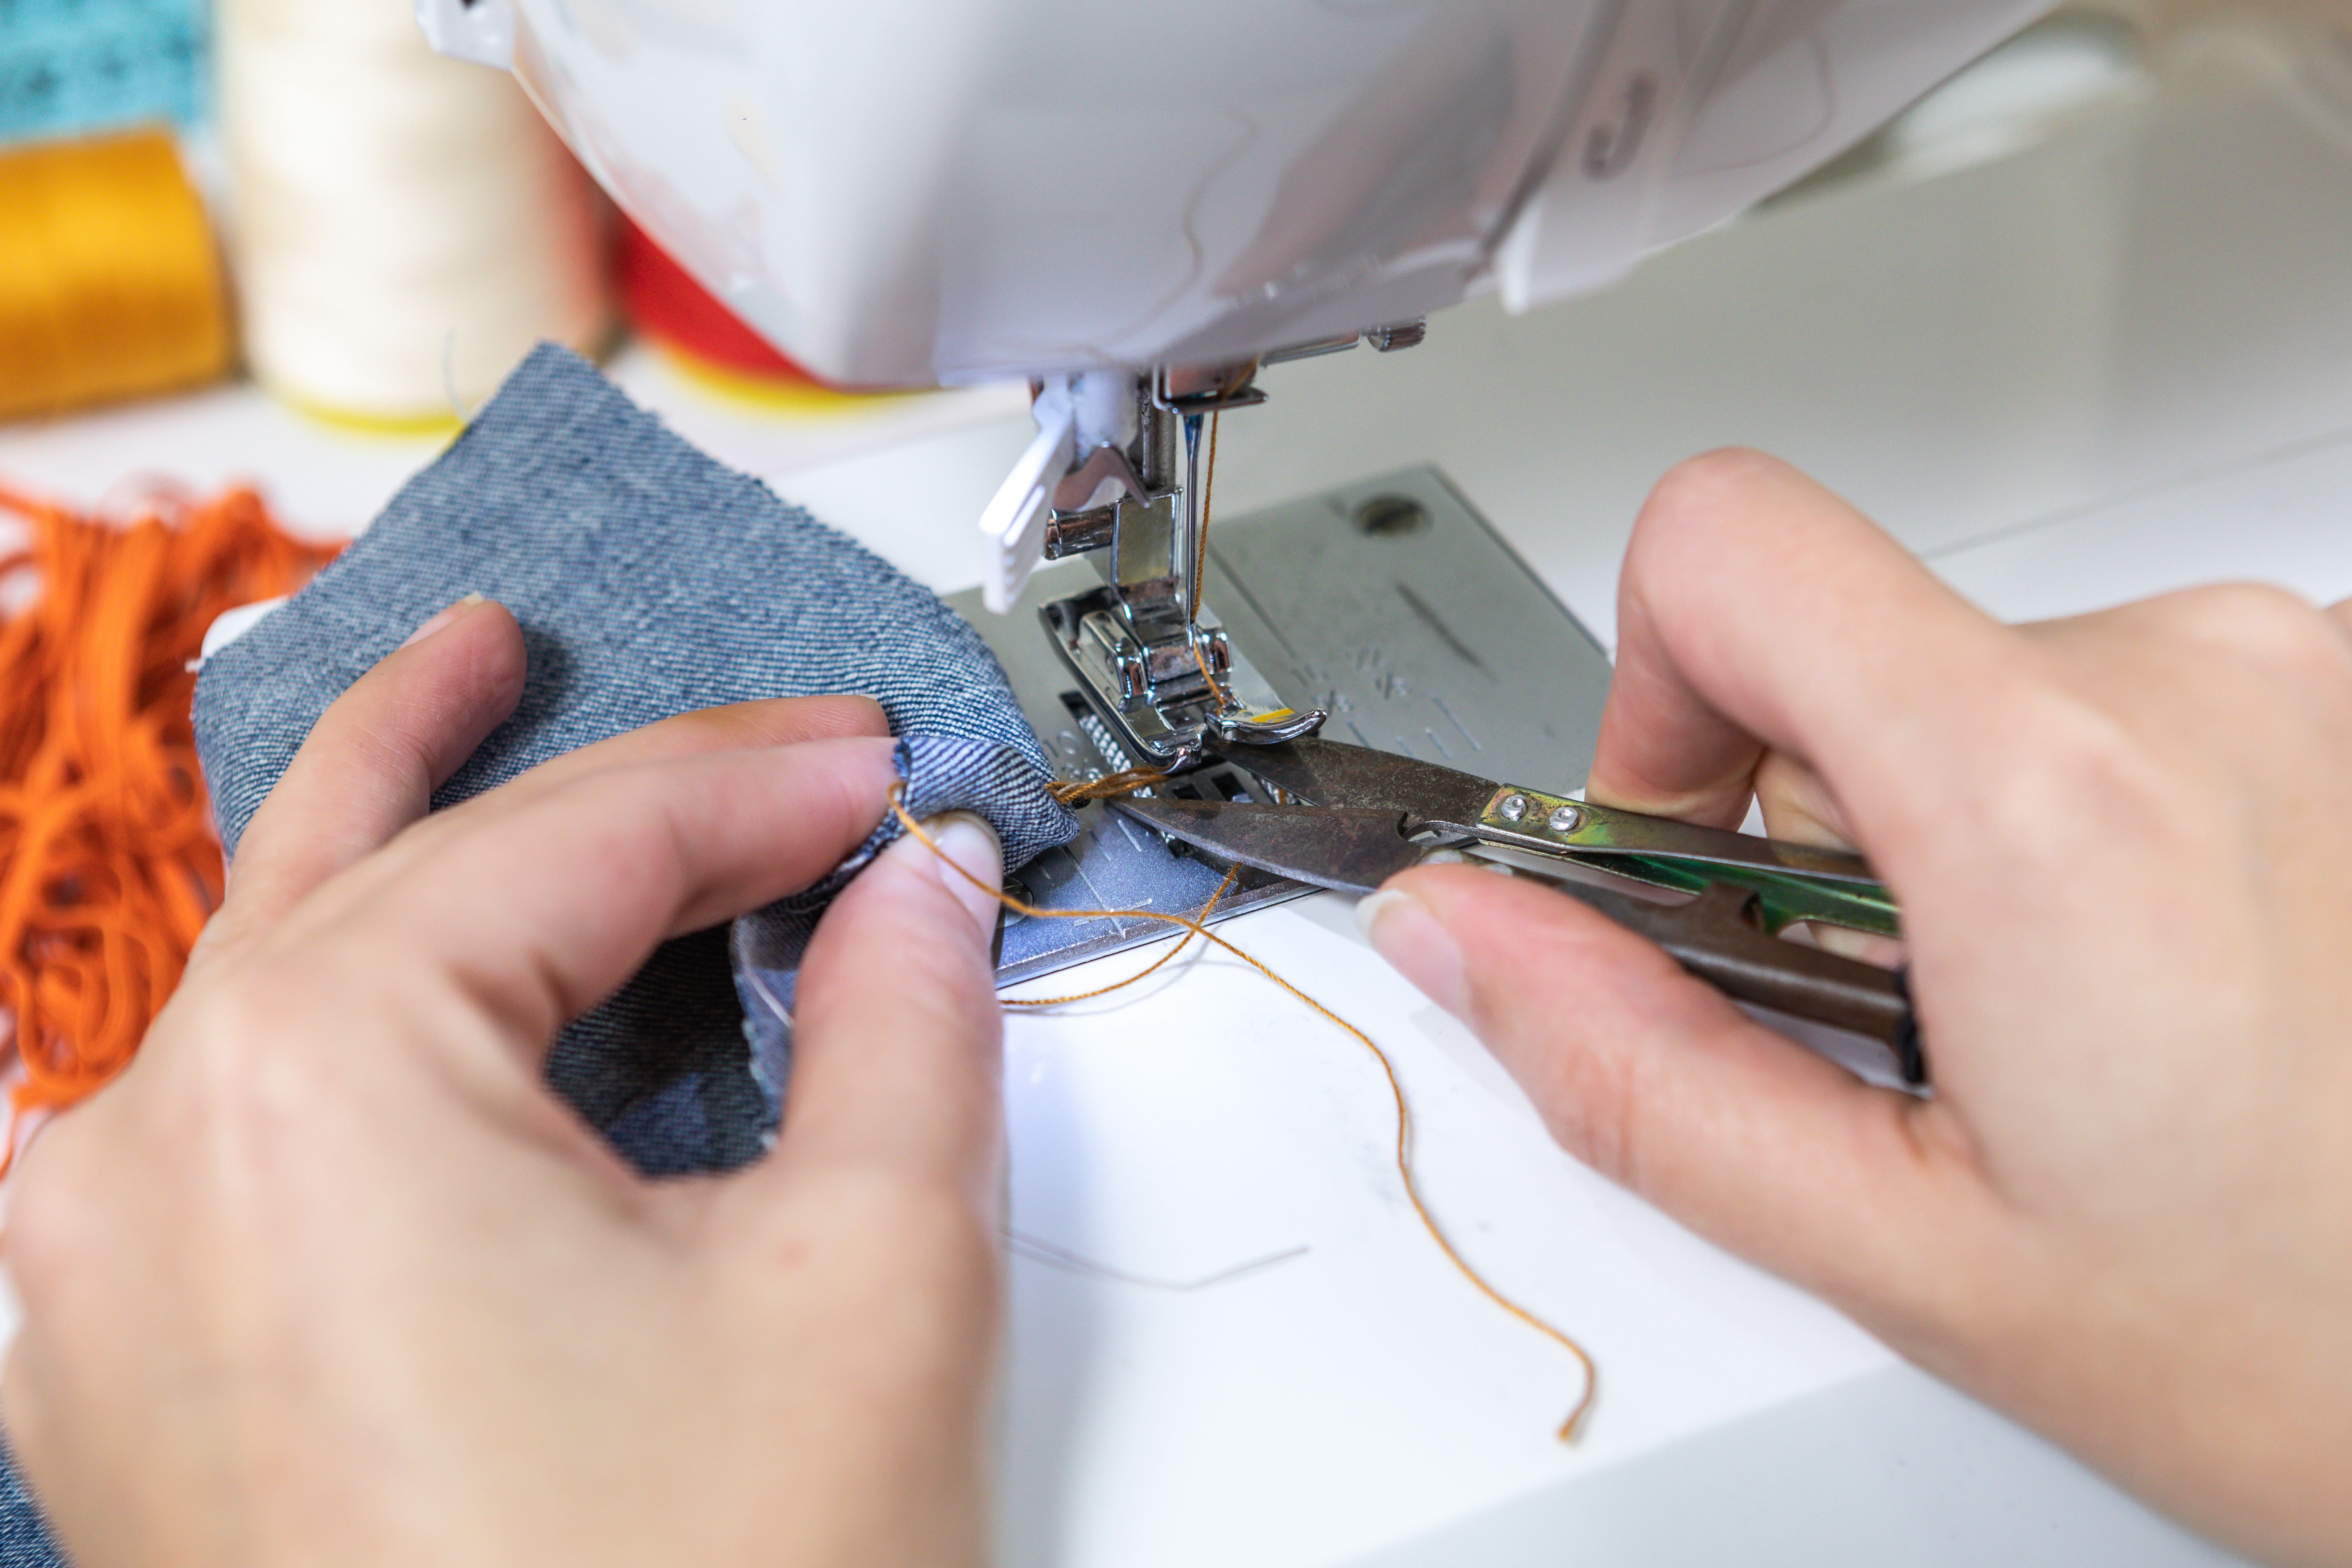
When your sewing machine jams, it can be frustrating, but before you panic, it's essential to identify the root cause of the problem. A jam can happen due to several reasons such as tangled threads, fabric caught in the machine, or mechanical issues. Start by gently removing any fabric under the needle and turn off the machine to prevent further damage.
Check the Threading
One common reason for a jam is improper threading. Begin by rethreading both the upper thread and the bobbin. Make sure the presser foot is up while threading to ensure proper tension. Remove the bobbin and check that it's wound correctly and seated properly in its compartment. Incorrect threading can lead to knots and tangles, causing the machine to jam.
Inspect the Needle
An often-overlooked cause of sewing machine jams is a bent or dull needle. Inspect the needle closely; if it's bent or worn out, replace it with a new one. Using the right needle for your fabric is crucial. A sharp, straight needle helps in smooth sewing and prevents unnecessary jams.

Clean Your Machine
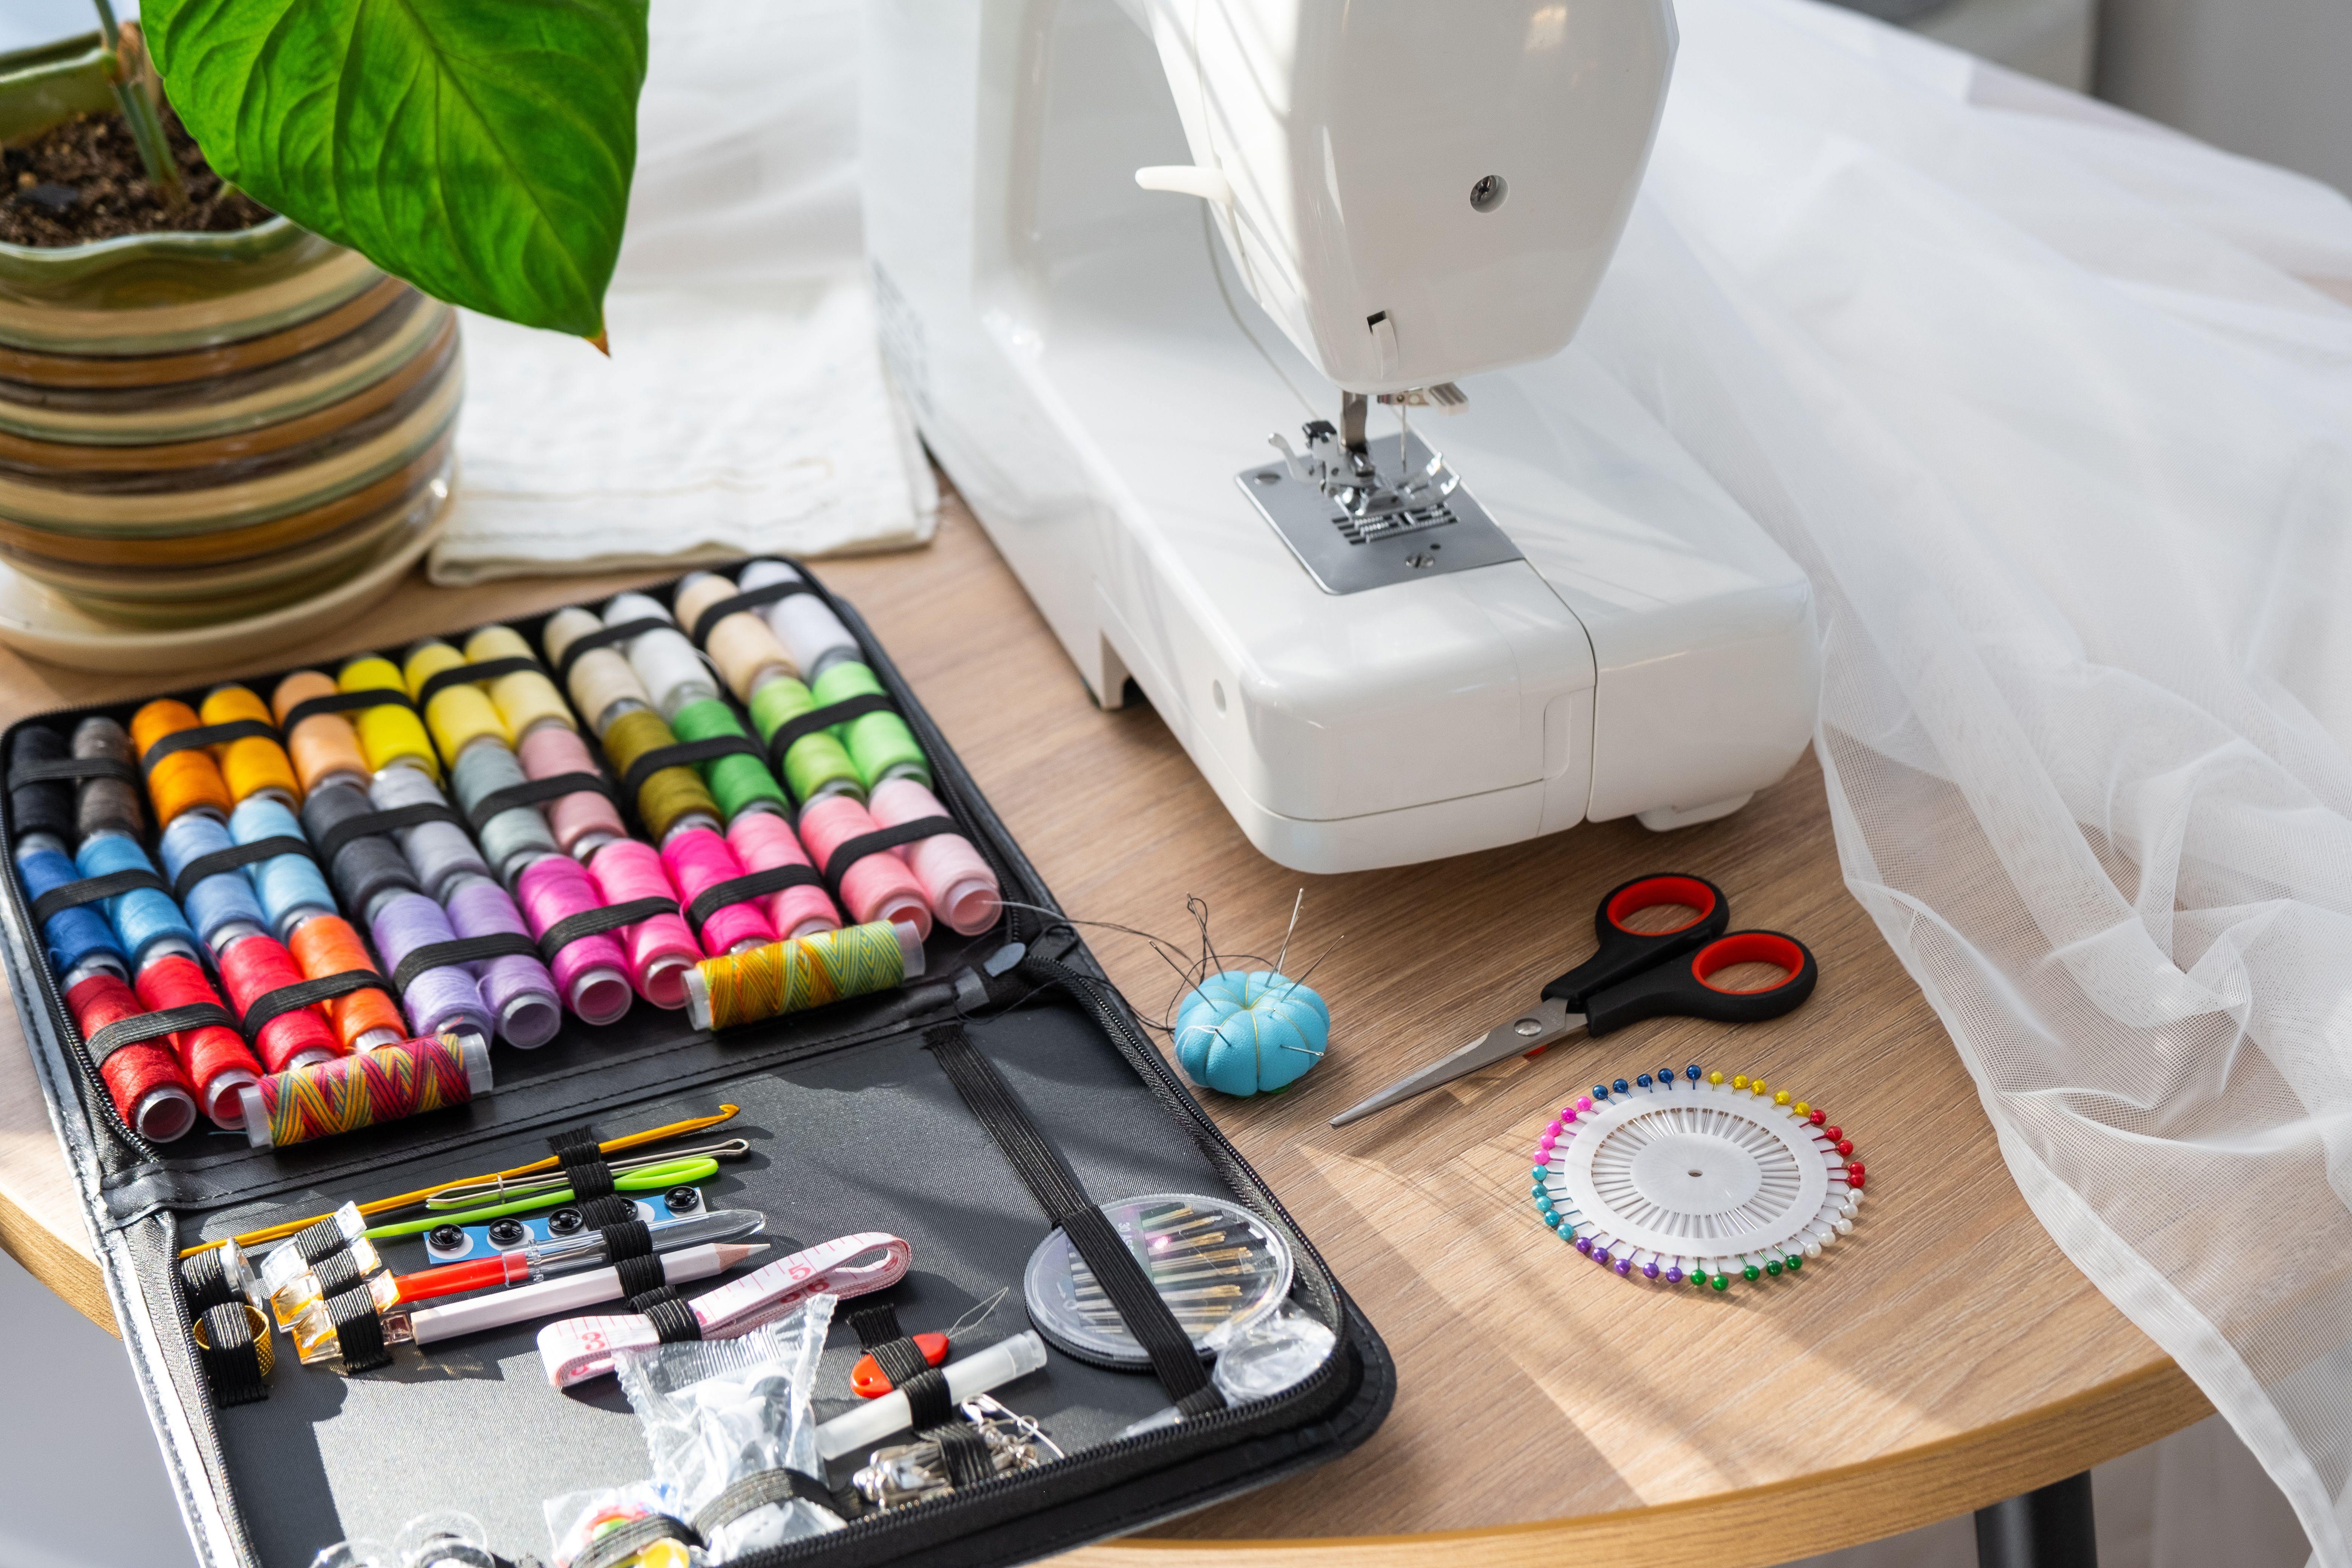
Dirt and lint accumulation can also cause your sewing machine to jam. Regular cleaning is crucial to keep it running smoothly. Use a small brush to remove lint from the feed dogs and bobbin area. Consider using compressed air to blow out debris from hard-to-reach places. Keeping your machine clean enhances performance and longevity.
Adjust Tension Settings
Incorrect tension settings can lead to thread bunching and jamming. Test your machine on a scrap piece of fabric before starting your project. Adjust the tension dial slightly and observe the effects on your stitching. Aim for balanced stitches where neither the top nor bottom thread is overly prominent.
Lubricate Moving Parts
Regular lubrication of moving parts is essential for maintaining a smooth operation. Use sewing machine oil to lubricate parts as recommended in your machine's manual. Be careful not to over-oil, as excess oil can attract dust and lint, leading to further problems.
Test and Reassemble
After addressing potential causes of the jam, reassemble your machine carefully. Test it on a piece of scrap fabric to ensure that everything is running smoothly. Listen for any unusual sounds and check the stitches for consistency. If the problem persists, consider consulting a professional technician.
Conclusion
Fixing a jammed sewing machine requires patience and attention to detail. By following these steps, you can troubleshoot common issues and get back to sewing with minimal downtime. Regular maintenance and care are key to preventing future jams and ensuring a long life for your sewing machine.